
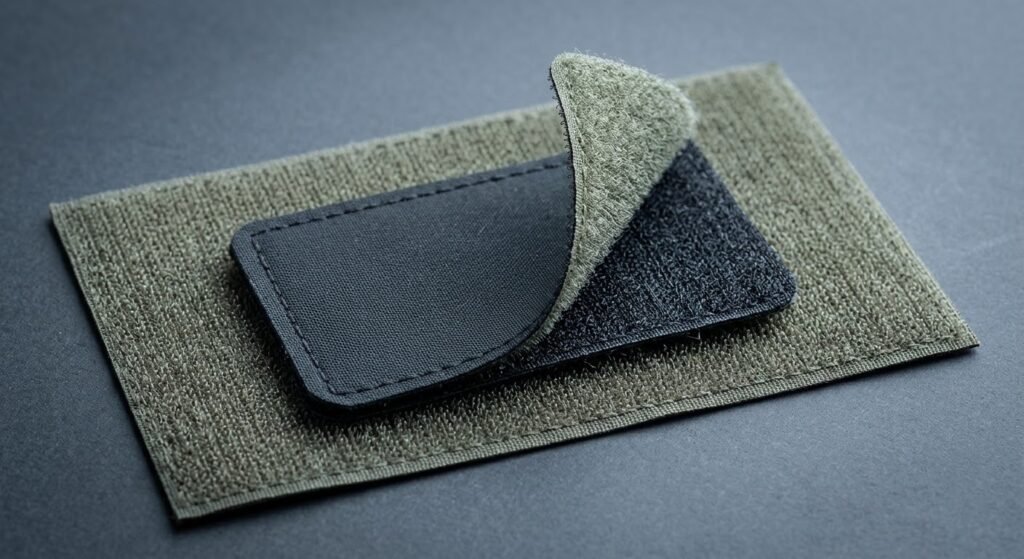
A name patch on a vest is a small purchase you use every day. Get the size wrong and nobody reads it across a room. Get the backing wrong and it slides off the first time you reach overhead. Most people figure this out by wasting two or three patches first.
This guide covers what hook-and-loop name patches are, the sizes and backings worth buying, where to place one so it reads at distance, and how to attach and care for it.
One naming note first, because listings are inconsistent. Velcro is a trademark of Velcro Companies for one brand of hook-and-loop fastener. Hook and loop is the generic term for the whole fastening system, and many companies make it. You will see both words used loosely in listings. Either term is fine to use, and neither one tells you which brand you are buying.
In this guide
- What hook-and-loop name patches are
- Where name patches get used
- Choosing a patch size
- Choosing the backing
- Making letters easy to read
- Where to place a patch on a vest
- Attaching the patch
- Care and washing
- What to ask before you buy
- Common questions
- The short version
What hook-and-loop name patches are
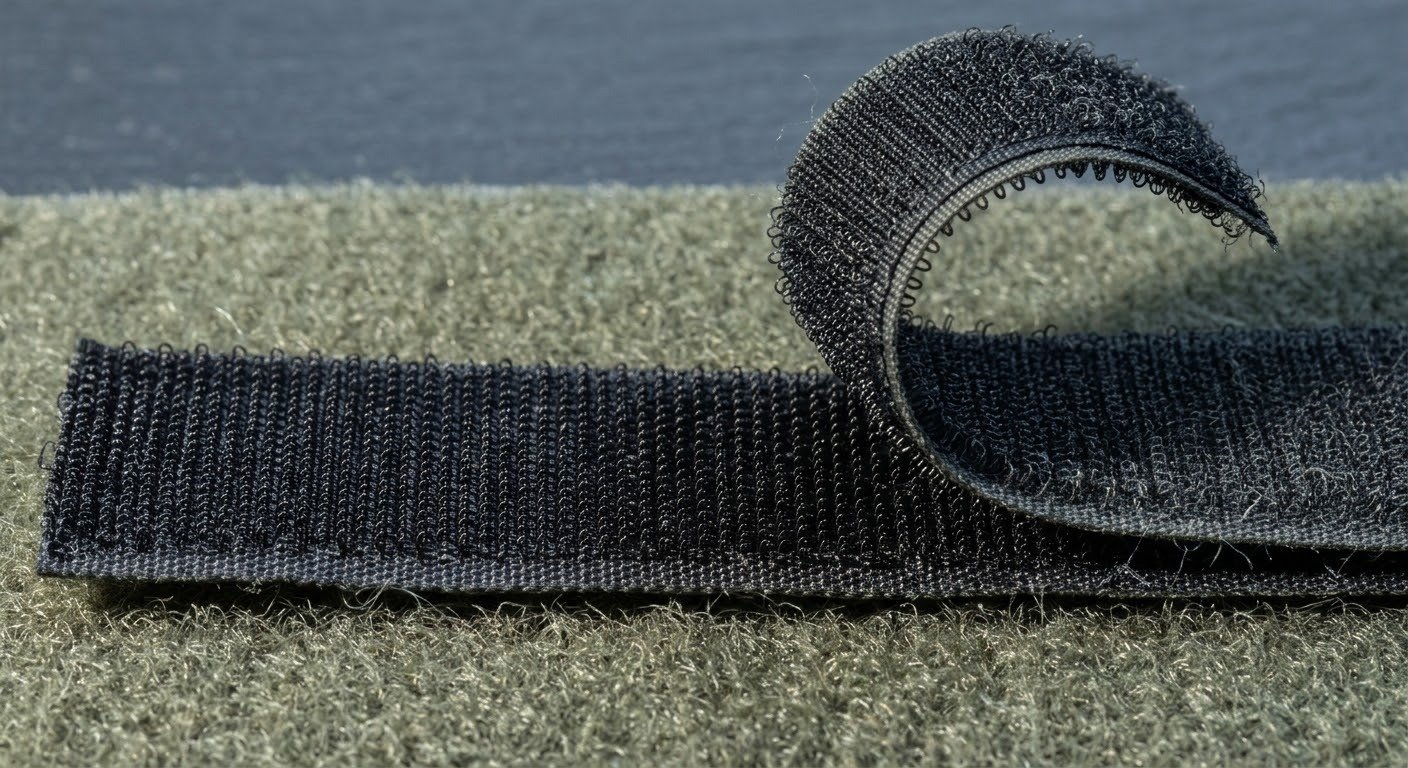
A hook-and-loop fastener is two soft strips that grip each other. One side has thousands of tiny hooks, the other has thousands of tiny loops. Press them together and they lock. Pull them apart and they release. The design came from burdock burrs, the seed pods that used to stick to dog fur and your socks, which is the same reason it works so well on fabric. The manufacturer’s own explainer covers the mechanism, and the trademark comes from co-founder George de Mestral, who combined the French words velours and crochet.
Most of these fasteners are nylon or polyester. Nylon is soft and flexible, and tolerates repeated fastening. Polyester holds up better in sun and chemicals, so it suits gear that sits in a hot trunk or gets washed hard weekly.
Two grades are worth knowing. Consumer-grade hook releases easily and survives thousands of cycles. Industrial and military-grade hook bites harder, holds more weight, and wears the mating loop surface faster. Stronger is not automatically better for a vest. One shrugged on and off fifty times a day does fine with an easy-release hook.
Where name patches get used
Military and tactical wear. Name tapes, unit patches, and flag patches live on the loop field of a plate carrier, load-bearing vest, or uniform. The reason is repositionability. A tape moves between pockets and carriers as gear changes, and nothing is stitched down permanently.
Law enforcement and security. Badge patches and name patches on duty vests and outer layers. The patch moves to a different layer for court, patrol, or an event, and comes off for laundering.
Workwear and trades. Contractors, warehouse staff, and field technicians put a name or company patch on a vest so the right person gets called at a job site. A phone number or a trade beats a surname here.
Events, volunteers, and staff. Race bibs, festival vests, crew shirts, and volunteer high-vis vests. A patch that swaps between people is cheaper than printing a new shirt every year.
Kids and school. Practice scrims, camp, field trips, and team vests. The patch is doing a safety job here, which changes the sizing advice below more than anything else.
Outfitting a group? Buy all the patches at once. Matching font, colour, and height makes a row of patches read as a unit, and makes swapping them painless.
Choosing a patch size
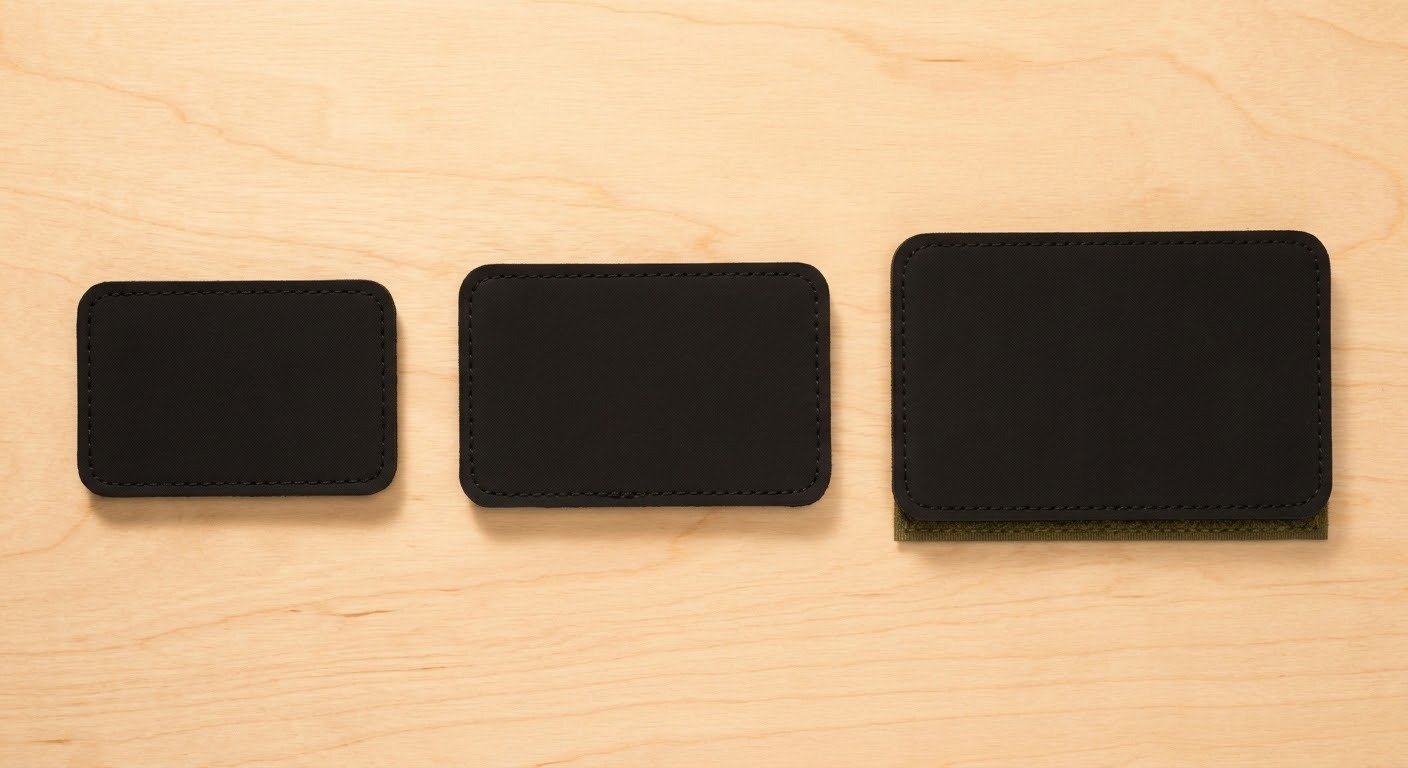
Size is where most people get burned, and the failure mode depends on who is reading the patch.
For adults reading each other at arm’s length, a patch roughly 2 by 3.5 inches is the common name tape footprint. It fits the loop field on most plate carriers and tactical vests without overhang. Larger, up near 2.5 by 4 inches, works on big back panels and on vests worn for identification at a distance.
For kids, go up in size. Narrower shoulders mean a smaller loop field, so a small patch looks fine in a warehouse but reads as a smudge from a soccer field sideline. Sew a narrower loop field under the larger patch if you are building the loop side yourself.
Under 2 inches tall is almost always wrong for anything worn outdoors. It works on a cap or a small chest pocket panel, where the reader stands close.
One check before you commit: measure the loop field on the vest, not the vest. Many softshell and work vests have no loop field at all, so you are sewing your own. Some have loop only on the shoulders, the back panel, or pocket flaps, and nowhere else. Feel for the fuzzy panel and measure it before you order.
Choosing the backing
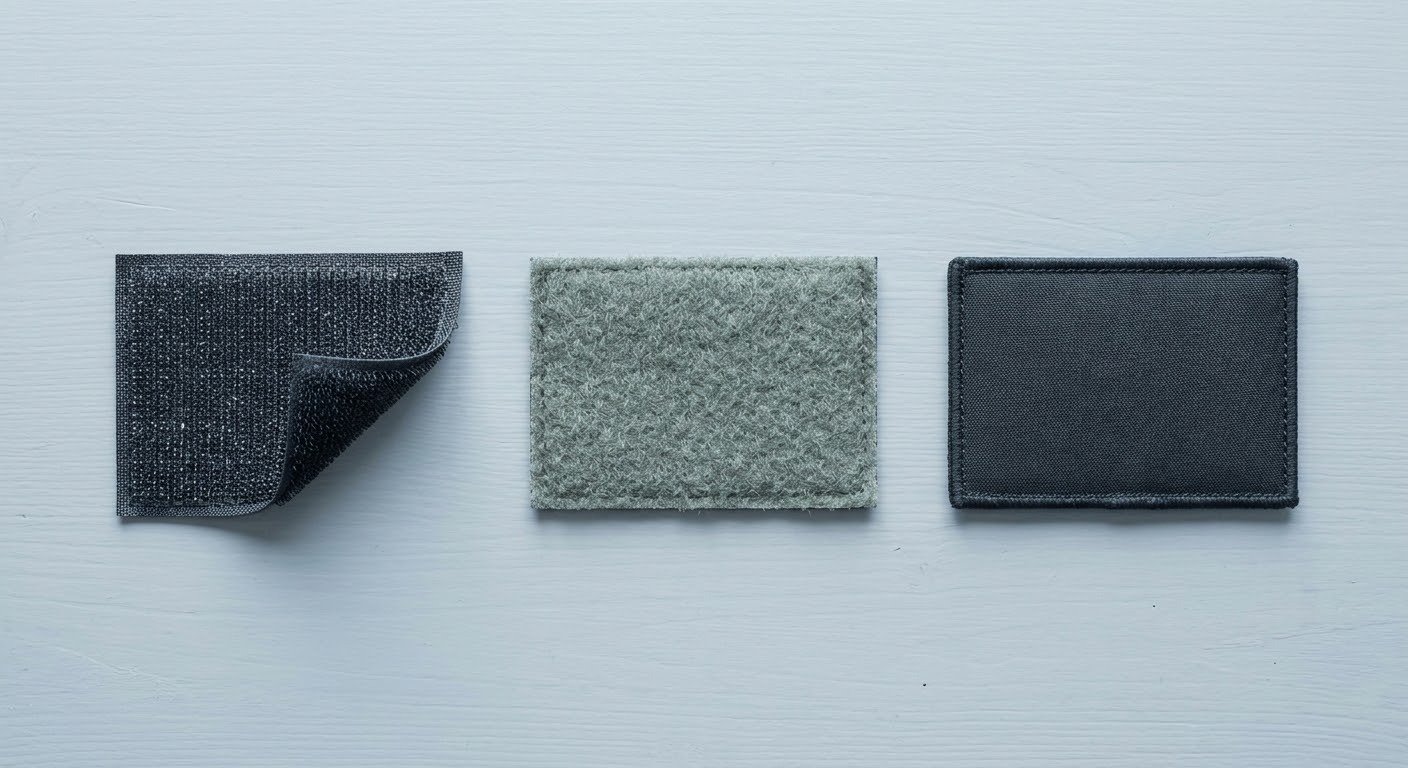
This one decision determines whether the patch works, and there are three real options.
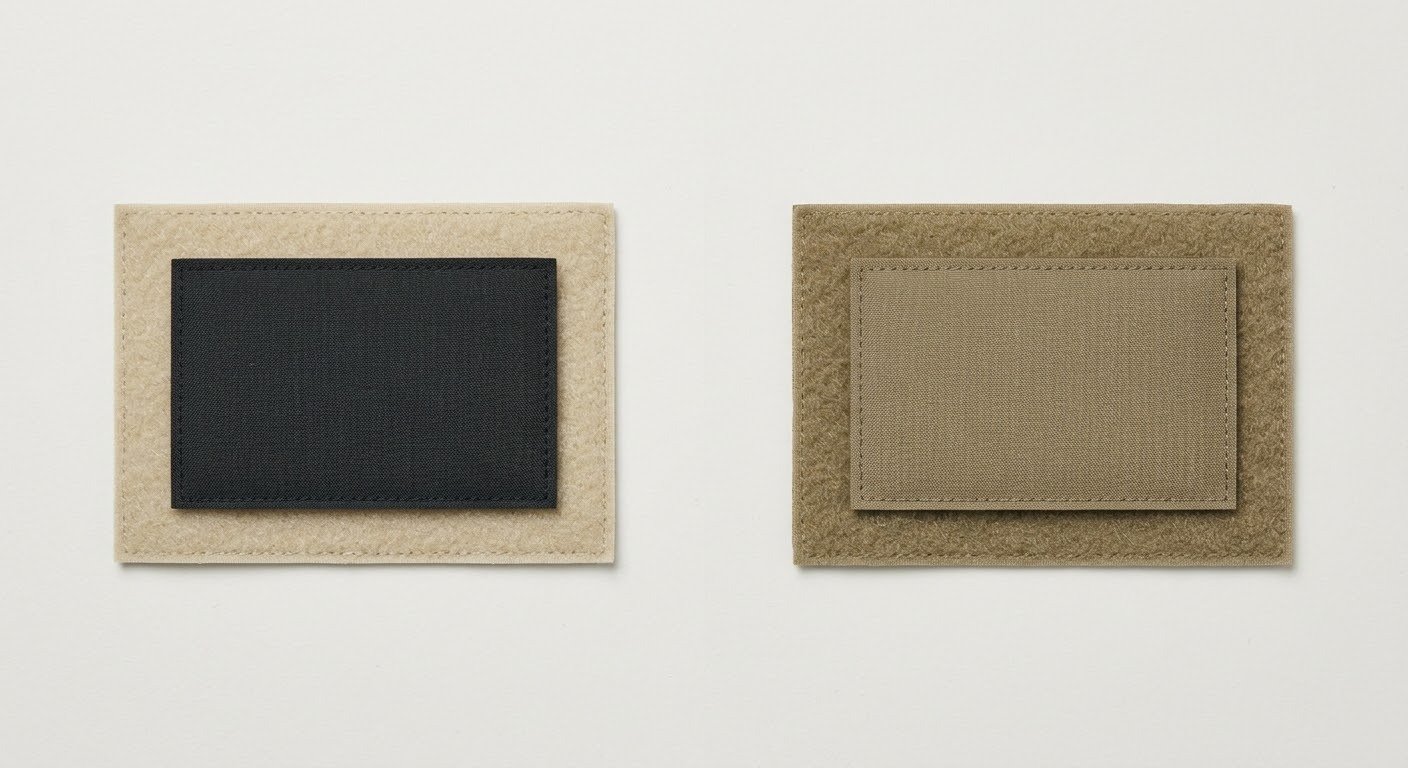
Hook-side patch. The rough side is on the back of the patch, and you need a loop field on the vest to attach it to. This is the most common configuration for name patches and the standard for military-style gear. Military buyers may see the loop side called “pile,” which is the same surface.
Loop-side patch. The fuzzy side is on the back and the hook goes on the vest. Less common, and mostly useful when you control both sides and want the hook somewhere it will not abrade the patch face.
Sew-on or adhesive patch. No hook and loop at all. A sew-on patch is stitched to the garment permanently. An adhesive-backed patch sticks to the first layer of fabric. Both trade flexibility for durability, and an adhesive patch on a stretchy or heavily abraded panel will let go sooner than any hook-and-loop arrangement.
Buy hook-side unless you have a reason not to. The standard arrangement puts the loop on the garment and the hook on the back of the patch, which keeps the hook away from skin and away from the reading surface.
If the vest has no loop field and you do not want to sew, an adhesive hook patch is a reasonable stopgap. Wipe the fabric with isopropyl alcohol and let it dry before pressing it down. The manufacturer’s application guide makes the same point about cleaning and drying the mating surface first. Give the adhesive a full day to grab, and do not expect it to survive a washing machine.
Making letters easy to read
Legibility at distance comes down to three things, and none of them is the font.
Height. Bigger is the reliable lever. A common rule of thumb in signage and labeling work is one inch of letter height per ten feet of reading distance. So one-inch letters stay readable to about ten feet, and two-inch letters reach roughly twenty. This is a rule of thumb, not a tested standard, but it points the right way. Check it by walking away from the vest rather than trusting the size on your screen.
Contrast. Light letters on a dark patch, dark letters on a light patch. This matters more than people expect, because vest panels and patches are usually both mid-tone. A khaki patch with khaki letters is invisible at ten feet and muddy even at three. Black on white, white on black, and white on navy are reliable. If your vest is busy, pick the patch that fights it.
Letter style. A plain block font with open counters, meaning the enclosed white spaces in letters like A, B, and O, reads better at distance than script or a heavy condensed face. Also avoid a name so long that letters end up under a quarter inch tall to fit. Shorten it, or use an initial plus surname.
Colour has a functional side too. If a group needs sorting at a glance, colour-code it. Just do not sacrifice contrast for the colour scheme.
Where to place a patch on a vest
Put it where the wearer does not cover it with a hand or an arm, and where the reading angle is straight on.
Front chest, wearer’s left or right. The most visible position on a vest, and the one that works for every use case. On a plate carrier, above the mag pouches and clear of the radio cord. On a work vest, above the chest pocket. Keep it out of the line of the shoulder strap, which slides across and hides whatever is underneath.
Front chest, upper centre. Between the shoulders on the sternum works for vests worn over a zip or placket. It avoids the pouch cluster entirely.
Back, upper centre or between the shoulder blades. The best choice when the reader is behind you or at a distance. This is where you go for a stage crew member, a marshal, or a kid on a team, when you want one word read from thirty feet.
Shoulder or upper arm. Reads well when everyone in a crowd faces forward and you need the name at a different angle. It also sits on the shoulder line, an area of high abrasion and flex, so a strong hook and a well-placed stitch loop matter more here.
Pocket flap or pocket face. Works for a low-profile identifier. It reads while the wearer stands still and disappears the moment they reach for something.
One mistake to avoid: do not put the patch across a seam, zipper, or closure flap running through the middle of it. Half the patch holds to the loop and half to a moving panel, and it puckers within a week.
Test the position by wearing the vest and reaching. Lift both arms overhead, shrug, bend forward, grab something at waist height. A patch that peels or slides in that test was in the wrong spot.
Attaching the patch
If the vest already has a loop field, this takes about ten seconds. Press the hook side onto the loop, starting at one edge and smoothing across so you do not trap air. Pull the patch straight off rather than peeling at an angle. Peeling at an angle pulls loop fibres loose faster than anything else you can do.
Sew the loop side on with a running stitch around the perimeter, plus a few diagonal stitches across the middle to stop the loop lifting off when the patch peels. Do not use iron-on hook and loop on a garment you care about. The adhesive softens in a hot car and lets go at the worst moment.
For the strongest result on a work vest, sew the loop on with a zigzag or stretch stitch so it survives flex. A straight lockstitch on heavy ripstop is fine too, as long as you catch the loop in several places.
Care and washing
Hook and loop is easy to maintain, and most of the maintenance is keeping the mating surfaces clear.
Skip fabric softener. This is the big one. Softener leaves a film on the loop that traps debris and reduces grip over time. Wash the vest, then run it through once more with no softener and an extra rinse, or wipe the loop field with a damp cloth and let it dry.
Clear the loop field regularly. A sticky roll or a stiff brush lifts lint and pet hair out of the pile. Do it before you notice a problem.
Close the fastener before washing. Patches left flapping inside a machine snag on other laundry and on themselves. Fasten every hook-and-loop closure on the vest first.
Check the care label. Sew-on patches on a vest usually handle a normal wash. Skip the dryer for anything with a stiff backing, and air dry.
Replace a tired patch rather than repairing it. After a few hundred peels, the hook field thins out and the patch releases on its own. Swapping hook-side patches is the cheapest maintenance in a vest system, and one of the things this format is genuinely good at.
What to ask before you buy
- Does my vest have a loop field, and where? Feel for the fuzzy panel and measure it. Note the width and height before ordering.
- Who reads this patch, and from how far? Close-range work is fine with 2 by 3.5 inches. Field or stage use means bigger and taller.
- Repeat user or one-off? Repeat users need hook-and-loop. A single event can use a sew-on patch and skip the field entirely.
- Will it be washed? Hook-and-loop survives laundering better than adhesive. If the vest goes through a washer weekly, sew-on or hook-and-loop beats peel-and-stick every time.
- Am I ordering for a group? Buy together and match font and height. You get a consistent look plus painless swapping between vests.
Common questions
What is the difference between a Velcro patch and a hook-and-loop patch?
Nothing mechanical. Velcro is a trademark of Velcro Companies for one brand. Hook and loop is the generic name for the system, made by many companies. A patch labelled “hook and loop” may not be the trademarked brand.
Should the hook or the loop go on the patch?
Hook. The loop, sometimes called pile, goes on the vest and the hook goes on the back of the patch. That keeps the scratchy side away from skin and away from anyone reading the name.
Will a hook-and-loop patch come off in the washing machine?
Usually not, if you close the fastener before washing and skip the softener. Adhesive patches are the ones that let go. If a patch starts releasing, check for lint packed into the loop field first. A clean loop field is usually all it takes.
What size name patch should I buy for a plate carrier?
About 2 by 3.5 inches is the common name tape size, and it fits most loop fields without overhang. Go larger for a back panel you want read from a distance, and go larger rather than smaller for a child’s vest.
Where should a name patch go on a tactical vest?
Upper chest on the wearer’s side, clear of the shoulder strap, or on the upper back between the shoulder blades for maximum visibility. Keep it off seams and zippers.
Can I put a name patch on a vest with no loop field?
Yes, with two options. Sew the loop side onto the panel, which is the better fix and lasts. Or use an adhesive-backed patch, faster but weaker on stretchy fabric. Clean the fabric with isopropyl alcohol first.
The short version
Buy a hook-side patch, 2 by 3.5 inches for close-range adult use and larger for distance or kids. Confirm the vest has a loop field before ordering, and sew one on if it does not. Put the patch on the upper chest or upper back, clear of straps and seams. Skip the softener, keep the loop clean, and swap the patch out when the hook wears down.